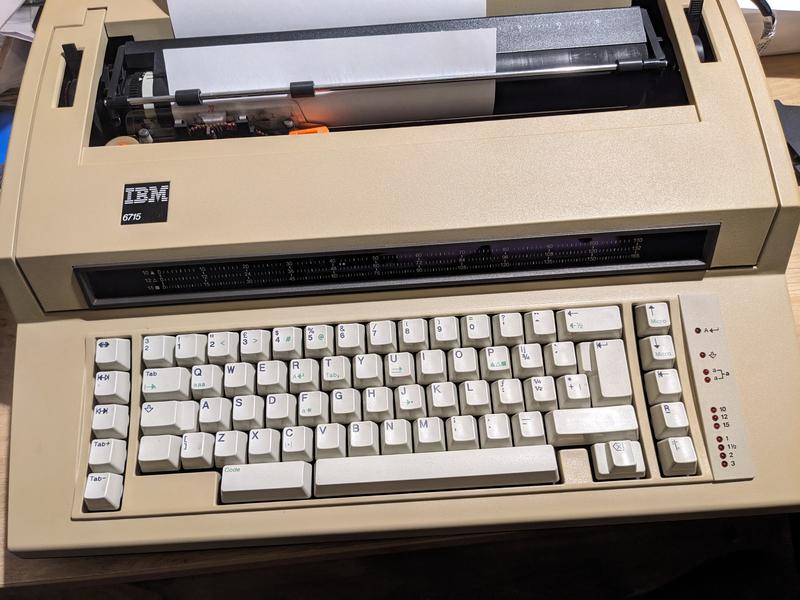
A recent addition to my little technology museum has been the IBM 6715 Actionwriter 1.
There were two reasons why I chose to get this machine when I found one on sale for cheap.
First, this typewriter has been described as a bit of a unicorn. It's an IBM, but not really. IBM had been making professional heavy duty office typewriters for many decades. By 1985 these had evolved into the first models of the Wheelwriter line, big electronic devices with a separate printer unit using a daisywheel print element. However, at that time IBM did not have a suitable model for the home, school, and small business markets. Rather than build their own low end model, IBM turned to Triumph Adler in Germany, who had the successful Gabrielle 9009 electronic typewriter. Triumph Adler agreed to build the IBM 6715 Actionwriter 1 for IBM, based on the Gabrielle 9009, but with an IBM keyboard, similar to the IBM Model M keyboard used with computers at the time, and a slightly modified case. It was sold as both 6715 and Actionwriter 1, and I haven't found anyone able to say what determined what label it got in what market at what time.
Second, this typewriter has a computer interface. Now, this interface appears to have been intended as only a printer interface, but I was hoping that with a bit of trickery, it might be possible to convince the device to operate as a terminal device, much like a Teletype, DECwriter, or IBM 2741.
When I got the device, I tried it out, and somewhat to my surprise it just worked. I could type on the keyboard and the print mechanism would print on the paper. The ribbon had run out, though, so it was printing white letters on white paper. Unfortunately, the second time I switched it on, nothing happened. I suspect something gave up in the power supply. Possibly a capacitor. This is not unusual for such old power supplies.
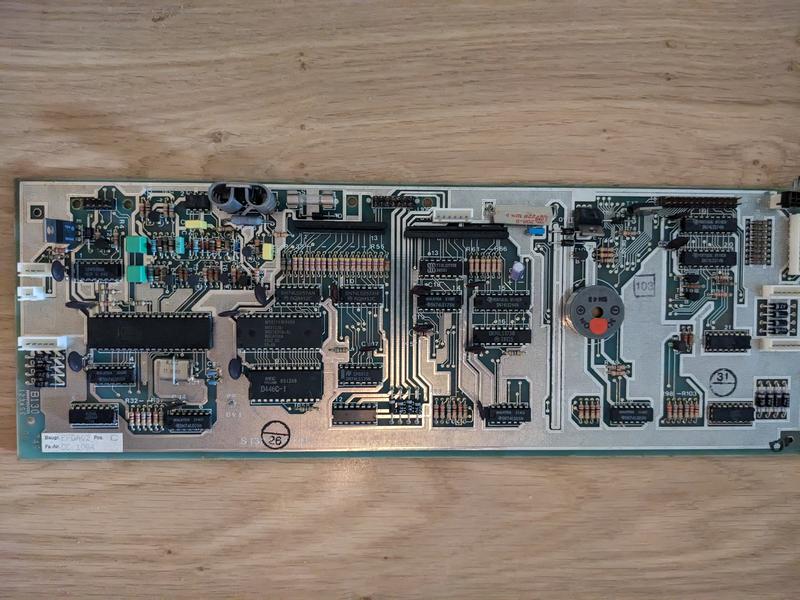
After a bit of fiddling I figured out how to get into the device. First, a pair of screws in the bottom undo the top shell of the case. This is hinged with a few catches on the back, so it has to be lifted up, which is made a bit more complicated because the print location indicator blocks the edge of the top cover from moving up. Turns out the plastic bends just enough to squeeze it past. That's kinda scary as I definitely didn't want to break that plastic. (I need to see if there's a better, safer way to do this.) The next step is to lift out the keyboard and disconnect several fragile looking connectors. (If you've seen Sinclair computers, you know the type.) Below the keyboard is the electronics board, with an Intel 8031 microcontroller and an external ROM chip, which gives some hope that it may be possible to recover the firmware and potentially even modify it. All other connectors on this board now had to come off to allow the print mechanism to move. After that, undoing four screws in the base of the print mechanism allowed it to be lifted out of the bottom shell of the case.
Now I could get to the rear of the mechanism, where the power supply is mounted inside a large metal bracket.
Next step is to study the power supply and find out what might be wrong.
That's where I currently am with this project.
I need to bring in some of my electronics tools to measure the various bits of the power supply board. That's going to be tricky as the board is quite tightly packed with components.
More as things progress.